Window snapping on Mac: how to snap and tile windows
Window snapping on Mac is built in from macOS 15 Sequoia: drag to an edge, use the green button or press Fn-Control-arrow. Steps, settings and fixes.
To snap a window on a Mac with macOS 15 Sequoia or later, drag it to the left or right edge of the screen and let go when an outline appears. You can also hover over the green button in the window’s top-left corner and pick a layout, or press Fn-Control-Left Arrow or Fn-Control-Right Arrow.
Window snapping on Mac is built in, so you don’t need an app for halves, quarters or filling the screen. This guide covers every built-in method, the settings that turn it on and off, and when an app like Rectangle or Snug is worth adding. Steps are from Apple’s “Tile windows on Mac” guide, checked on November 10, 2026.
Which Macs have built-in window snapping?
Window tiling arrived in macOS 15 Sequoia and is in every version since. Check your version under Apple menu > About This Mac. On macOS 14 Sonoma or earlier, the edge-drag and Fn-Control shortcuts below won’t work. Split View and full screen still do, and the apps further down can fill the gap.
How do you snap a window by dragging it?
- Drag the window by its title bar toward the left or right edge of the screen, or into a corner.
- Watch for a highlighted outline showing where the window will go.
- Let go. The window snaps into that half or quarter.
To fill the whole desktop, drag the window up to the menu bar and let go.
For faster tiling, hold the Option key while you drag toward an edge or a corner, then let go in the highlighted area.
If you drag a window all the way through the top edge, Mission Control opens instead. You can turn that off (see the settings section below).
How do you tile windows with the green button?
Hover the pointer over the green button in the top-left corner of the window. A menu of tile layouts appears.
- Move & Resize: places the active window in a half or a quarter.
- Fill & Arrange: arranges several windows at once, fills the desktop, or centers the window. Press Option to see more layouts.
- Full Screen: puts the window in full screen, or starts Split View (see below).
How do you use the Window menu to tile windows?
Click the window you want to tile, then open Window in the menu bar:
- Fill: the window covers the desktop.
- Center: the window moves to the middle of the desktop.
- Move & Resize > Halves or Quarters: tiles the active window.
- Move & Resize > Arrange: tiles several windows together. Press Option for more layouts.
- Full Screen Tile: full-screen tiling options, including the two sides used by Split View.
What are the keyboard shortcuts for window snapping on Mac?
Apple lists these in Mac window tiling icons and keyboard shortcuts:
| Shortcut | What it does |
|---|---|
| Fn-Control-F | Fill the desktop |
| Fn-Control-C | Center the window |
| Fn-Control-Left Arrow / Right Arrow | Snap to the left or right half |
| Fn-Control-Up Arrow / Down Arrow | Snap to the top or bottom half |
| Fn-Control-R | Return to the size before tiling |
| Fn-Control-Shift-Left Arrow | Active window left, second window right |
| Fn-Control-Shift-Right Arrow | Active window right, second window left |
| Fn-Control-Option-Shift-Left Arrow | One window on the left half, two in the right quarters |
The Up and Down Arrow versions of the two- and three-window shortcuts work the same way, top and bottom. There is no shortcut for a single corner, for four quarters, or for full-screen tiling. Use the green button or the Window menu for those.
How do you use split screen on Mac with Split View?
Split View puts two apps side by side, full screen, in a new space of their own. It’s the closest thing macOS has to “split screen.” Per Apple’s Split View guide:
- Hover over the green button and choose Full Screen > Left of Screen or Right of Screen.
- On the other side, click the second app you want.
- Drag the divider in the middle to resize. Double-click it to restore the original sizes.
- To swap sides, drag a window by its title bar to the other side.
To leave Split View, hover over the green button on one window and choose Move Window to Desktop. The other app stays full screen in its own space. To get back to it, press Control-Up Arrow and click the app in the Spaces bar.
Tiling and Split View solve different problems. Tiling keeps windows on your normal desktop, next to everything else you have open. Split View moves two apps into a full-screen space of their own.
How do you turn window snapping on or off?
Open System Settings > Desktop & Dock and scroll to Windows. You’ll find these switches (Apple’s tiling settings guide):
- Drag windows to screen edges to tile (macOS 15 Sequoia). On macOS 26 Tahoe and later it reads Drag windows to left or right edge of screen to tile. Turn it off to stop edge snapping.
- Drag windows to menu bar to fill screen: turn off to stop windows filling the screen when dragged to the top.
- Hold ⌥ key while dragging windows to tile: turn on if you only want snapping while you hold Option. This stops accidental snaps.
- Tiled windows have margins: turn off to remove the gaps between tiled windows.
In the same Desktop & Dock settings, Drag windows to top of screen to enter Mission Control controls whether dragging through the top edge opens Mission Control.
When should you use a window management app instead?
Built-in snapping is enough if you tile a few windows a day. An app helps in two cases.
You want more shortcuts, for free. Rectangle is free and open source. It adds shortcuts and snap areas for more positions, and pressing a shortcut again cycles through sizes. It needs macOS 14 or later, and older versions exist for older systems. If you’re on Sonoma, this is the simplest way to get snapping. Magnet ($4.99, Mac App Store) is a paid alternative that adds thirds along the bottom edge.
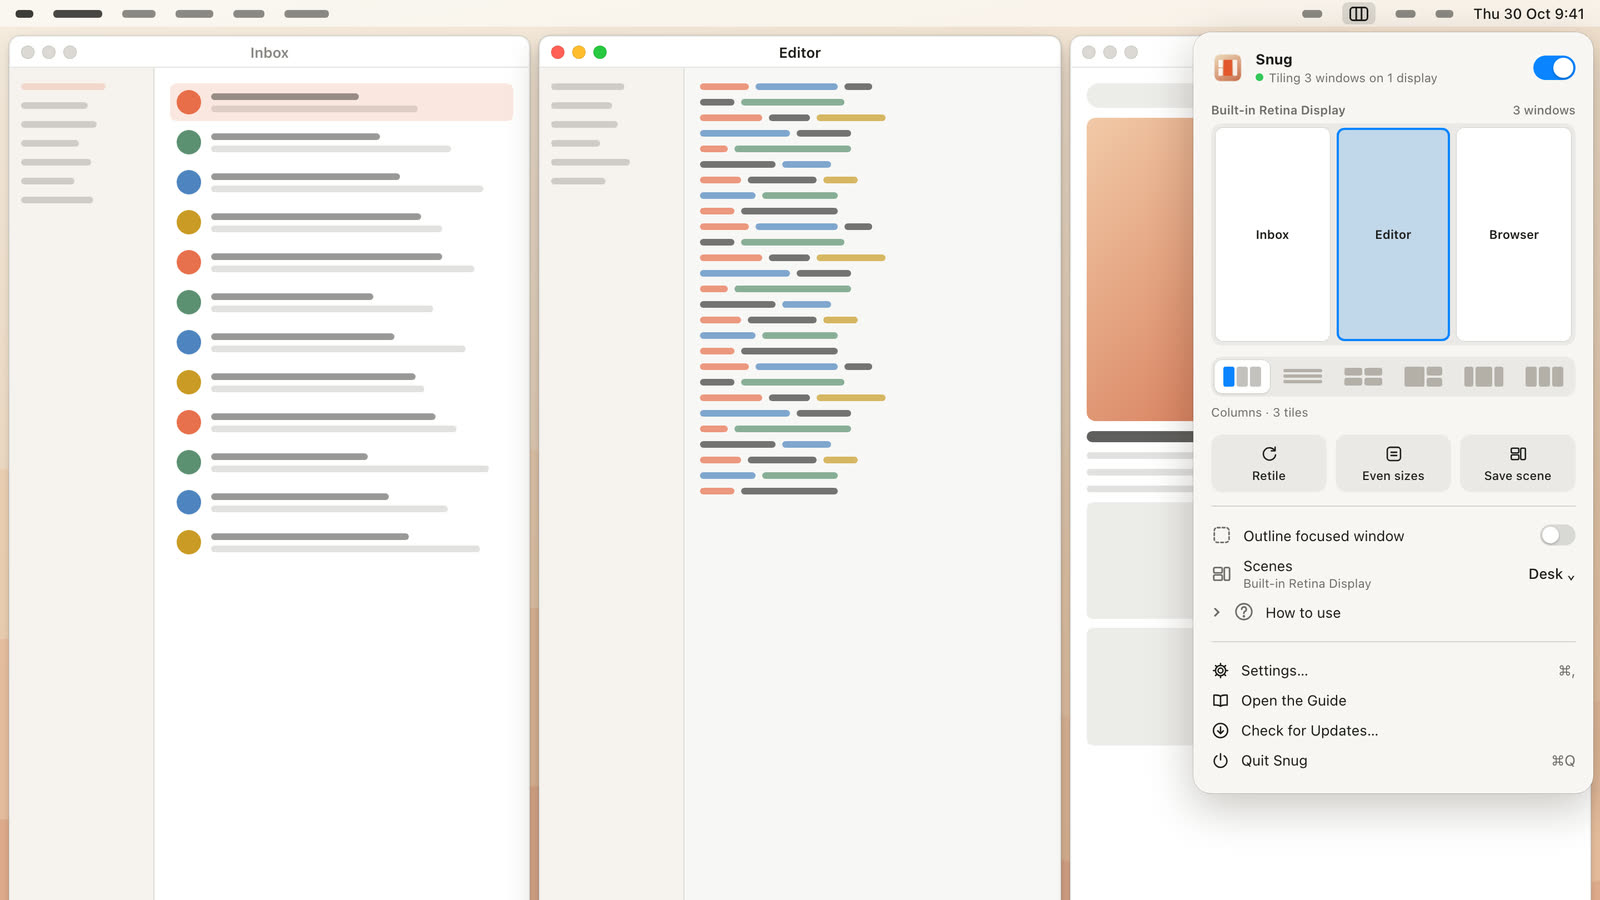
You’re tired of placing every window yourself. Snapping still means one drag or shortcut per window, every time you open one. A tiling window manager for macOS does that for you. Snug, which we make, tiles each new window the moment it opens and reflows the rest when one closes. It has layouts per display (columns, rows, grid, side, thirds, and Center Stage for ultrawides), and it restores your arrangement when you plug in or unplug a display. There’s no config file. It costs $14.99 once and needs macOS 15 or later. The Snug launch post shows how it works.
If you like config files and the keyboard, free auto-tilers such as AeroSpace and yabai are good choices too. Our comparison of the best window managers for Mac covers all of them, with prices and trade-offs.
Window snapping not working? Try these fixes
Windows don’t snap when you drag them. Check that Drag windows to screen edges to tile is on in Desktop & Dock. If Hold ⌥ key while dragging windows to tile is on, you must hold Option while dragging.
Mission Control opens when you drag to the top. You dragged through the top edge. Turn off Drag windows to top of screen to enter Mission Control, or stop at the menu bar.
There are gaps between tiled windows. Turn off Tiled windows have margins.
Fn-Control shortcuts do nothing. Make sure the window you want to move is active. Another app may use the same keys. Rectangle’s README suggests making sure no other window manager is running at the same time.
Two tools fight over the same window. If you use a window management app, turn off the macOS edge-drag setting so only one of them reacts when you drag.
Split View won’t work on a second display. Turn on Displays have separate Spaces in Desktop & Dock.
There are no tiling options at all. You’re probably on macOS 14 or earlier. Update to macOS 15 or later, or use an app such as Rectangle.
FAQ
Does Mac have window snapping like Windows?
Yes, since macOS 15 Sequoia. Drag a window to a screen edge or corner, use the green button, or press Fn-Control and an arrow key.
How do I stop windows from snapping on my Mac?
Go to System Settings > Desktop & Dock > Windows and turn off the edge-drag tiling switch and Drag windows to menu bar to fill screen. Or turn on Hold ⌥ key while dragging windows to tile so snapping only happens when you hold Option.
Is there a keyboard shortcut to snap a window to a corner?
No. macOS has shortcuts for halves, fill, center and multi-window layouts, but not for single corners. Drag to the corner, use the green button, or choose Window > Move & Resize > Quarters.
What is the difference between window tiling and Split View?
Tiling arranges windows on your normal desktop. Split View puts two apps side by side in their own full-screen space.
Can a Mac tile windows automatically?
Not by itself. macOS tiles a window only when you ask. Auto-tiling window managers such as Snug, AeroSpace, yabai and Amethyst place every new window for you.
Next step: let new windows tile themselves
Built-in snapping is a good start. If you’re snapping the same windows every day, see how Snug tiles every window automatically, with no config to write.
Get new MacMuse apps first
A short email when a new app ships or an app gets a big update. That’s it.